
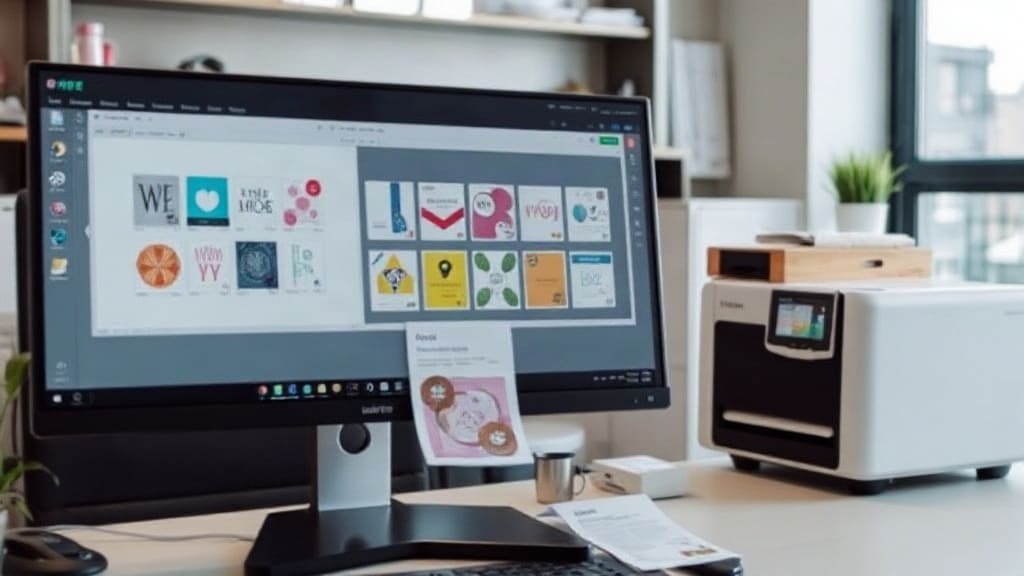
If you're in the custom apparel business, you know that time is money. Every minute spent manually arranging transfers on a sheet is a minute not spent fulfilling orders. That's where a DTF gangsheet builder comes in. This powerful tool lets you automatically nest and arrange multiple designs on a single film, drastically cutting material waste and labor costs. But are you using it to its full potential?
In this guide, we'll dive deep into the world of DTF gangsheet building. We'll cover everything from the basics to advanced strategies, so you can streamline your workflow and increase your profit margins. Whether you're a seasoned pro or just starting out, there's always something new to learn.
What Is a DTF Gangsheet Builder?
At its core, a DTF gangsheet builder is software that helps you arrange multiple DTF transfers onto a single sheet of film. Instead of printing each design individually, you nest them together to maximize the use of your transfer film. This is similar to how a print shop might gang up business cards on a large sheet before cutting them apart.
The benefits are obvious: you save on film, save on ink, and save on time. But the real magic lies in the automation. A good builder uses algorithms to find the most efficient layout, often achieving a material utilization rate of over 90%. That's a huge leap compared to manual nesting, which typically hovers around 70%.
Why DTF Gangsheets Are a Game-Changer
DTF printing has exploded in popularity because it works on almost any fabric, requires no weeding, and produces vibrant, durable prints. Gangsheets take these advantages and multiply them. By combining multiple designs into one print job, you reduce the number of times you need to load film, change ink, and run the printer. This is especially crucial for small businesses that handle a high volume of small orders.
Imagine you have 20 orders for t-shirts, each with a different design. Without a gangsheet, you'd print 20 separate sheets. With a DTF gangsheet builder, you can fit all 20 designs onto one or two sheets, depending on their size. The savings in film alone can be significant, not to mention the reduced printer wear and tear.
How to Choose the Right DTF Gangsheet Builder
Not all gangsheet builders are created equal. Some are basic and offer only manual dragging and dropping, while others are packed with advanced features like auto-nesting, price calculation, and integration with e-commerce platforms.
When evaluating options, consider your specific needs. If you're a solo entrepreneur, a simple, affordable tool might suffice. But if you run a growing shop with multiple employees, you'll want something more robust that allows collaboration and batch processing.
Key Features to Look For
- Auto-nesting: This is the most important feature. The software should automatically rotate and position designs to minimize wasted space.
- Price calculation: Some builders let you set your price per square inch and automatically calculate the cost of each gangsheet, making it easy to quote jobs.
- Template library: Pre-made templates for common gangsheet sizes (e.g., 22x12, 22x24) can save you time.
- Integration: If you sell on Etsy or Shopify, look for a builder that integrates with your store to pull orders directly.
- User-friendly interface: A steep learning curve costs you time. Choose a tool that's intuitive and quick to master.
Of course, budget matters. Many builders offer a free tier with limited features, and paid plans that unlock the full potential. Evaluate the ROI: if a paid tool saves you just 10% on film costs, it often pays for itself within weeks.
Step-by-Step: Building Your First Gangsheet
Ready to give it a try? Here's a simple walkthrough using a typical DTF gangsheet builder. The exact steps may vary, but the general process is similar.
- Upload your designs: Start by uploading all the images you want to include. Make sure they are high-resolution PNG files with transparent backgrounds.
- Set your sheet size: Choose the dimensions of your film roll. Common sizes are 22 inches wide by 12, 24, or 36 inches long. The builder will create a virtual canvas of that size.
- Add designs to the sheet: Drag and drop your designs onto the canvas. You can usually resize, rotate, and duplicate them as needed.
- Use auto-arrange: Click the auto-nest button. The software will rearrange everything to fit as tightly as possible, often rotating designs for optimal packing.
- Review and adjust: Check the layout. Sometimes you might want to manually tweak a few things, like grouping related designs together for easier cutting later.
- Export and print: Once satisfied, export the gangsheet as a high-resolution image or PDF. Then send it to your DTF printer.
After printing, you'll need to apply adhesive powder and cure the film. Then you can cut out each design. Many builders include cut lines or spacing guides to make this easier.
Tips for Maximizing Efficiency
To get the most out of your DTF gangsheet builder, keep these best practices in mind:
- Group by size: If you have many small designs, group them together to fill gaps around larger ones.
- Leave a small margin: Don't nest designs too tightly; leave at least 0.1 inch between them to avoid ink bleeding and make cutting easier.
- Consider the grain: DTF film has a grain direction. For best results, keep all designs oriented in the same direction unless you have a reason to rotate.
- Save your layouts: If you frequently print the same designs, save the gangsheet as a template for future use.
- Test different sheet sizes: Sometimes using a longer sheet can yield better utilization than multiple shorter ones.
These small adjustments can add up to big savings over time.
Common Mistakes to Avoid
Even with a great tool, it's easy to fall into traps. Here are some pitfalls to watch out for:
- Overlooking print resolution: Ensure your designs are at least 300 DPI at the final print size. Otherwise, they'll look pixelated.
- Forgetting about color profiles: DTF printers use CMYK inks, so convert your designs to CMYK to avoid color shifts.
- Ignoring the cost of mistakes: A misprint on a full gangsheet wastes a lot of material. Always do a small test print before committing to a large sheet.
- Not updating software: Builders often release updates with improved nesting algorithms. Keep your tool current.
Avoiding these mistakes will save you time, money, and frustration.
Frequently Asked Questions
What is the best DTF gangsheet builder for beginners?
For beginners, look for a builder with a free plan and an intuitive drag-and-drop interface. Tools like DTF Pro Hub's builder offer a gentle learning curve and helpful tutorials. Start with simple layouts and gradually explore advanced features.
How much can I save by using a gangsheet builder?
Savings vary, but many users report reducing film waste by 20-30%. If you spend $500 monthly on film, that's $100-$150 saved. Plus, you save time, which you can reinvest in growing your business.
Can I use a gangsheet builder for other types of printing?
While designed for DTF, the concept of gangsheet building applies to other printing methods like sublimation and screen printing. However, the specific software may differ. Always check compatibility with your printer and materials.
Do I need special software to create gangsheets?
Yes, a dedicated gangsheet builder is highly recommended. While you could manually arrange designs in graphic software like Photoshop, it's time-consuming and less efficient. A specialized builder automates the process and ensures optimal nesting.
How do I price a gangsheet for my customers?
Most builders include a pricing calculator. You set your price per square inch (or per design), and the tool computes the total. Factor in your costs for film, ink, powder, and labor, then add your profit margin. Consistency is key, so use the same formula for all quotes.
With these insights, you're well on your way to mastering the DTF gangsheet builder. Embrace the technology, refine your process, and watch your productivity soar.