
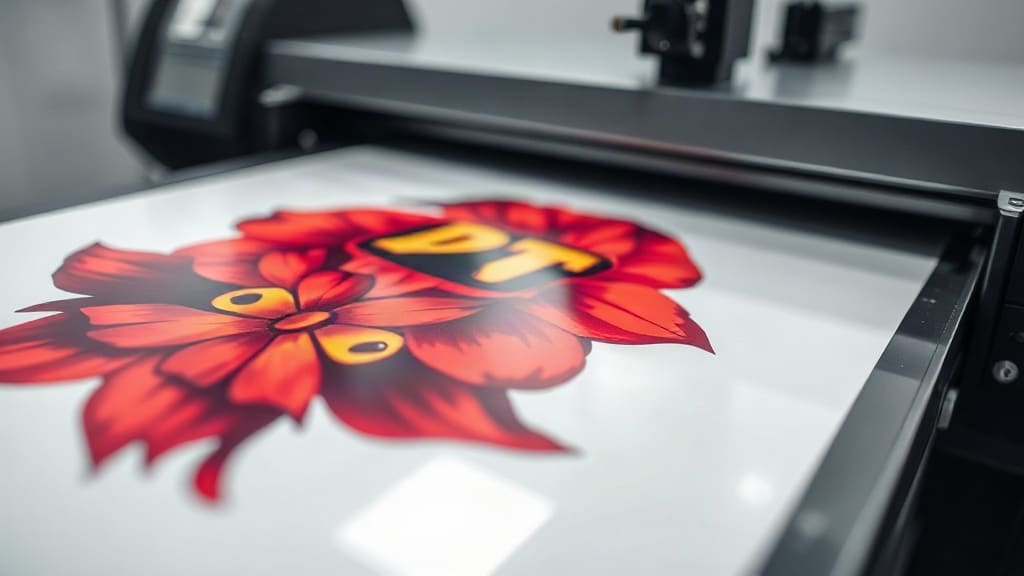
When you first hear about DTF printing, it might sound like just another heat transfer method. But once you see a vibrant, stretchable design peel off a film and bond permanently to a cotton shirt, you realize it's a different beast. Unlike vinyl or sublimation, DTF (Direct to Film) lets you print full-color, photographic images onto almost any fabric, from 100% cotton to polyester blends, without pre-treating the garment. That flexibility has made it a favorite for small shops and hobbyists alike. But getting consistent, wash-durable results requires more than just buying a printer and some film. There's a learning curve, and most beginners hit the same roadblocks: faded colors, cracked transfers, or powder that won't stick. This guide walks you through the entire process, with practical tips I've picked up after countless trial runs and a few ruined shirts.
What Exactly Is DTF Printing?
DTF printing stands for Direct to Film. The process starts by printing your design onto a special PET film using a modified inkjet printer loaded with pigment inks (usually CMYK plus white). After printing, you dust the wet ink with a hot-melt adhesive powder, shake off the excess, and cure the powder with heat. The result is a transfer that you can store for months and apply later with a heat press. The magic is in the white ink layer: it acts as an opaque base, allowing colors to pop on dark garments without the need for a separate white underbase like you'd need in screen printing. And because the adhesive is already on the film, you skip the messy glue sprays and weeding that come with other methods.
Step-by-Step DTF Printing Process
Before you start, gather your materials: a DTF printer (or a converted Epson with DTF ink), DTF film, hot-melt powder, a heat press, and a curing oven or a heat gun. Here's how it all comes together.
1. Design and Print
Create your artwork in a vector or high-resolution raster format. Remember that DTF prints are mirrored, so flip your design horizontally before printing. Set your printer to the correct profile for DTF film; this controls ink density and white layer thickness. Too little white ink and colors look dull on dark shirts; too much and the transfer feels stiff. Most RIP software lets you adjust white ink percentage, so experiment with small test prints.
2. Apply Hot-Melt Powder
While the ink is still wet, sprinkle the hot-melt powder evenly over the print. You can do this manually or with an automatic powder shaker. The goal is a uniform layer that sticks to the ink but not to the bare film. Gently shake off the excess, then tilt the film to check for missed spots. A common mistake is using too much powder, which leads to a rough, textured transfer. Less is often more, as long as the ink is fully covered.
3. Cure the Powder
Curing melts the powder into a flexible adhesive layer. You can use a curing oven or a heat press with the film placed between two sheets of parchment paper. Typical curing conditions: 160°C (320°F) for 2-3 minutes in an oven, or 15-20 seconds in a heat press at low pressure. Watch for the powder to turn from white to a clear, glossy gel. If it stays white, it's undercured; if it turns brown, you've scorched it. Undercured transfers wash off quickly, while overcured ones become brittle.
4. Press the Transfer
Once cured, the film can be stored or used immediately. To apply, preheat your heat press to 150-160°C (300-320°F). Place the transfer on the garment with the printed side up (the adhesive side down), cover with parchment paper, and press for 10-15 seconds with medium pressure. Let it cool completely before peeling the film. If you peel while hot, the design may stretch or leave adhesive residue. For a softer feel, you can press again for 5 seconds after peeling to set the ink deeper into the fabric.
Common DTF Problems and How to Fix Them
Even with the right steps, issues pop up. Here are the most frequent ones and their solutions.
- Faded colors after wash: Usually caused by undercuring the powder or insufficient pressure during application. Increase curing time or pressure.
- Cracking in the transfer: Overcured powder becomes brittle. Reduce curing temperature or time. Also, stretching the garment excessively can crack any transfer.
- Powder not sticking: The ink may have dried before powder application. Work quickly, or increase humidity in your workspace.
- White ink clogging: DTF printers need daily maintenance. Print a small test pattern and clean the printhead to prevent clogs.
DTF vs. Other Transfer Methods
How does DTF stack up against vinyl, sublimation, and screen printing? Vinyl is great for simple one-color designs but can't handle gradients. Sublimation only works on polyester and light-colored fabrics. Screen printing offers durability and low cost per piece for large orders, but setup is time-consuming and expensive for multi-color jobs. DTF hits a sweet spot: no weeding, no pre-treatment, full-color capability on any fabric, and easy storage of transfers. The trade-off is a slightly higher cost per print and a learning curve for maintenance. For small businesses and personalization, it's often the most versatile choice.
Essential Tips for Consistent Results
After ruining more shirts than I'd like to admit, I've learned a few non-negotiables. First, keep your printer clean. DTF ink, especially white, settles and clogs if left idle. Run a nozzle check daily and do a deep clean weekly. Second, invest in a good heat press with accurate temperature control. A cheap press with hot spots will make you blame the film when the real issue is uneven heat. Third, store your film and powder in a cool, dry place. Humidity ruins powder, making it clump and stick where it shouldn't. Finally, always do a test print on a scrap shirt before a big order. It saves time and materials.
Frequently Asked Questions
How long does a DTF transfer last?
With proper curing and application, a DTF transfer can last 50+ washes. Turn the garment inside out and wash in cold water to extend its life.
Can I use DTF on polyester?
Yes, DTF works on polyester, cotton, and blends. However, polyester requires lower pressing temperatures (around 140°C) to avoid dye migration.
Do I need a special printer for DTF?
You can convert an Epson printer with DTF ink and a RIP software, or buy a dedicated DTF printer. Dedicated models handle white ink circulation better and are easier to maintain.
What's the difference between DTF and DTG?
DTF prints on a film and transfers to the garment, while DTG (Direct to Garment) prints directly onto the fabric. DTG requires pre-treatment and works best on 100% cotton, whereas DTF is more versatile.
How do I store unused DTF transfers?
Keep them in a cool, dry place away from direct sunlight. Place parchment paper between transfers to prevent sticking. They can last for several months if stored properly.