
Most people meet DTF printing the same way: they order a transfer, press it onto a shirt, and either get a result that looks factory-made or one that peels off in the first wash. The difference rarely comes down to luck. It comes down to a handful of decisions made long before the heat press closes, starting with how the artwork is built and ending with how the finished shirt is handled in the first 24 hours. This guide walks through that entire chain in the order it actually happens, with the specific numbers and checks that separate a transfer that lasts from one that fails.
What DTF Printing Actually Does Differently
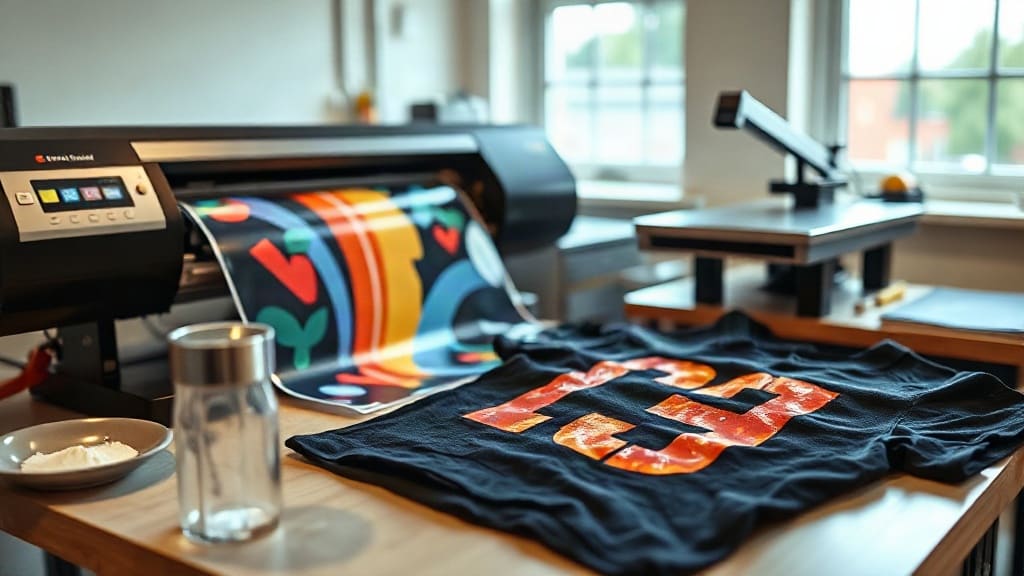
Direct-to-film printing separates the ink from the garment. A printer lays down CMYK inks plus a white ink layer onto a PET film coated with a release agent. While the ink is still wet, a hot-melt adhesive powder is applied, shaken off, and cured. The result is a flexible, stretchable transfer that can be pressed onto cotton, polyester, blends, canvas, nylon, and even some leathers, materials that would be difficult or impossible to print directly.
That versatility is the main reason DTF has become a default choice for small shops and print-on-demand sellers. You are not locked into 100% cotton the way you are with plastisol screen printing, and you do not need a pretreatment machine the way you do with direct-to-garment. One roll of film, one powder, and one press covers a wide range of jobs.
Where It Beats Other Methods
- Fabric range: works on dark and light garments, natural and synthetic fibers.
- Color depth: the white ink base lets bright colors sit on black shirts without a separate underbase screen.
- Small runs: a single shirt costs roughly the same per unit as fifty, which suits custom and one-off orders.
- Detail: fine gradients and photographic images reproduce cleanly, unlike vinyl cutting.
Where It Falls Short
Transfers add a slight hand feel that is more noticeable than a well-printed screen job, especially over large solid areas. Very stretchy performance fabrics can crack if the powder is under-cured or the press pressure is too light. And because the transfer sits on top of the fabric rather than soaking in, edges can lift on garments with heavy texture or a rough weave.
Preparing the Art File the Right Way
Transfer quality starts in the design file. A few habits prevent most of the problems people later blame on the press.
Build at 300 DPI at final print size. A file that looks sharp at 10 cm will not hold up when scaled to 28 cm. If you are enlarging a logo, redraw it as vector rather than upscaling a raster image. Keep the background transparent, and remove any drop shadow or glow effect that was designed for a screen, because those become muddy halos once white ink is involved.
Send the printer clean, separated colors where possible. Most DTF printers handle CMYK fine, but pure black text on a light garment often prints sharper when it is set as 100% K rather than a rich black mix of all four inks. Rich black is useful on dark garments where the white base is doing the heavy lifting, but it can look heavy and slightly green on white shirts.
Size and Placement Cheat Sheet
- Full front: 28 to 30 cm wide, placed 7 to 8 cm below the collar seam.
- Left chest: 9 to 10 cm wide, centered 20 cm down from the shoulder seam.
- Back print: 30 to 33 cm wide, top edge 10 to 12 cm below the collar.
- Sleeve: 7 to 8 cm wide, centered on the outer arm, at least 3 cm from any seam.
Add a 2 to 3 mm margin of transparent space around the artwork. This gives the cutter a clean path and prevents the white layer from bleeding past the design edge.
Film, Powder, and Ink Choices That Matter
Not all transfer film behaves the same. Standard double-sided matte film is the workhorse for most shops. Cold-peel film releases cleanly after the transfer cools, which suits fine detail and small text. Hot-peel film releases while still warm, which speeds up production but demands more precision, because pulling too early drags ink and pulling too late makes the adhesive tacky and hard to remove from the carrier.
The powder is the adhesive, and it is where many failures begin. Fine powder, typically in the 80 to 170 micron range, gives a softer hand and better detail on small elements. Coarser powder is more forgiving on large solid blocks but feels thicker on the finished shirt. Apply enough to fully coat the wet ink, then shake off the excess firmly. A transfer that looks glossy and lumpy after curing usually had too much powder, not too little.
Curing the powder is a separate step from drying the ink. Most manufacturers specify a short bake, often 2 to 3 minutes at around 160 degrees Celsius, until the powder turns from white to a clear, slightly glossy gel. Under-cured powder looks chalky and will wash out. Over-cured powder yellows and becomes brittle. A cheap infrared thermometer takes the guesswork out of this step.
Pressing the Transfer Correctly
Press settings vary by film brand, so always start with the manufacturer's recommendation and then adjust. A reliable baseline for a standard cotton shirt is 160 degrees Celsius, medium to firm pressure, and 15 to 20 seconds. Peel according to the film type, cold for cold-peel and warm for hot-peel.
Two details are easy to miss. First, pre-press the garment for 5 to 10 seconds to drive out moisture. Trapped steam under the transfer causes bubbles and weak adhesion. Second, use a cover sheet or parchment between the transfer and the press platen so the adhesive does not stick to the upper platen, and press the finished transfer a second time for 5 to 10 seconds after peeling to lock the edges down.
Quick Troubleshooting Table
- Peeling after wash: uneven pressure, under-cured powder, or moisture in the fabric.
- Cracking on stretch: powder layer too thick or press temperature too low.
- Dull, faded colors: ink not fully dried before powder application.
- White halo around edges: artwork background not fully transparent.
- Transfer sticks to film: peeled at the wrong temperature for the film type.
Washing and Long-Term Durability
A correctly made DTF transfer survives dozens of home washes. Turn the garment inside out, use cold water, and avoid fabric softener, which leaves a residue that breaks down the adhesive over time. Tumble dry low or hang dry. Skip the iron directly on the print; if you must iron, go inside out on a low setting.
For shops selling finished goods, include a small care card. It costs almost nothing and cuts down on the most common complaint, which is not a manufacturing defect but a laundry mistake.
Frequently Asked Questions
Can I DTF print on 100% polyester?
Yes, and it is one of the method's strengths. Use lower press temperatures, around 130 to 140 degrees Celsius, because polyester can scorch or develop a shine at higher heat. Test on an offcut first, since dye migration can occur on dark polyester if the white ink layer is too thin.
How long do DTF transfers last in storage?
Stored flat, away from direct sunlight and humidity, most transfers keep well for six to twelve months. Film quality and powder curing affect shelf life more than anything else. Keep them in a sealed bag with a desiccant packet if your workspace is humid.
Why does my transfer feel stiff?
Usually too much powder or too thick an ink layer. Reduce powder coverage, print at a lower ink density, and consider a finer powder grade. Large solid prints will always feel firmer than small ones, so keep heavy coverage areas to a reasonable size.
Do I need a special printer for DTF?
You need a printer that supports white ink and is set up for film, typically a converted desktop or wide-format machine. Standard CMYK office printers cannot lay down the white base that makes the process work on dark garments.
What temperature should I press at for a cotton and polyester blend?
Start around 150 degrees Celsius and adjust from there. Blends tolerate more heat than pure polyester but less than cotton, so a mid-range setting with firm pressure for 15 to 20 seconds usually gives the best balance of adhesion and fabric safety.