
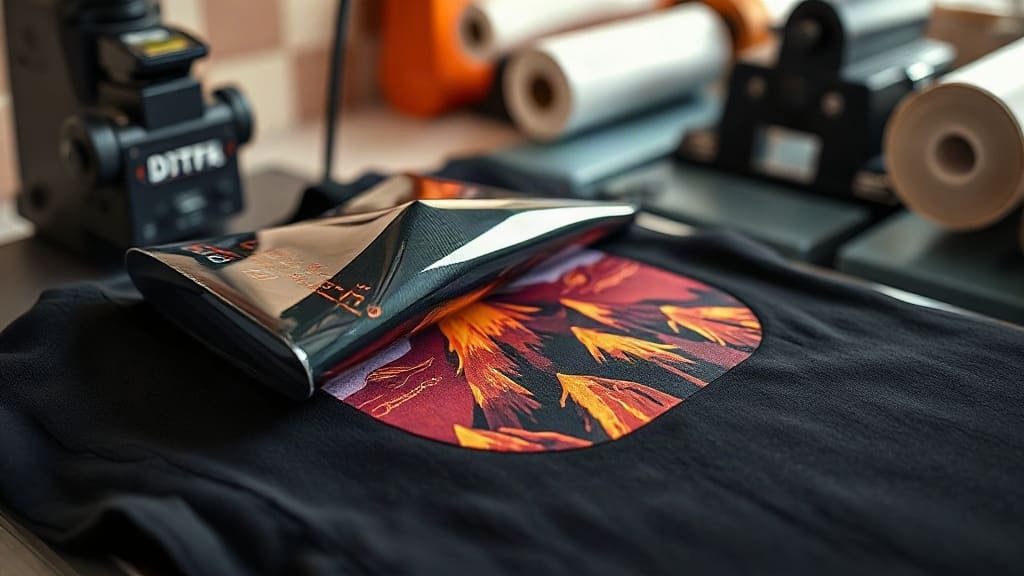
If you've been exploring custom apparel decoration, you've likely encountered DTF printing. It's the technology that lets you transfer full-color designs onto almost any fabric without the complexity of screen printing or the limitations of vinyl. But what does it take to produce a DTF transfer that survives the wash and feels great? This guide walks you through the entire process, from picking the right film to pressing the final product, with practical tips from real-world experience.
What Exactly Is DTF Printing?
DTF stands for Direct to Film. Unlike DTG (Direct to Garment), which prints directly onto the fabric, DTF printing involves printing your design onto a special film, coating it with adhesive powder, curing it, and then heat-pressing it onto the garment. This two-step process opens up a world of possibilities: you can decorate cotton, polyester, blends, and even tough-to-print materials like nylon and leather. The result is a soft, stretchable transfer that holds up to repeated washing when done correctly.
The Key Components of DTF Printing
Before diving into the steps, let's break down the essential materials and equipment you'll need.
DTF Film
DTF film comes in two main types: cold peel and hot peel. Cold peel film requires the transfer to cool completely before removing the carrier sheet, while hot peel allows you to peel immediately after pressing. Each has its place. Cold peel often yields a smoother finish and is more forgiving for beginners, while hot peel speeds up production. Film thickness also matters: thinner films (75-100 microns) are ideal for fine details, while thicker films (100-125 microns) handle heavy ink loads better.
DTF Ink
DTF inks are pigment-based and designed specifically for the film transfer process. They include CMYK plus white ink, which acts as a base layer to make colors pop on dark garments. Quality ink is crucial; cheap alternatives can clog printheads and produce dull, faded transfers.
Adhesive Powder
This is the magic ingredient. The powder melts during curing and forms a bond between the ink and the fabric. There are two main types: thermoplastic polyurethane (TPU) and polyamide. TPU powder is softer and more elastic, making it perfect for stretchy fabrics. Polyamide is more rigid but offers excellent durability. For most apparel, TPU is the go-to choice.
Heat Press
A reliable heat press is non-negotiable. You need consistent temperature and pressure to achieve professional results. A press with digital controls and even pressure distribution will save you from countless frustrations.
Step-by-Step DTF Printing Process
Now let's walk through the process from start to finish.
1. Design Preparation
Start with a high-resolution image (300 DPI is ideal). Mirror the design horizontally because you'll be pressing it face-down onto the fabric. If your design has fine lines or small text, consider adding a slight outline to prevent ink spread. Also, ensure your printer's RIP software is set to print the white layer underneath the color layers. This white base is what makes DTF transfers opaque on dark shirts.
2. Printing
Load your DTF film into the printer, smooth side up (check your film's instructions). Print the design using your printer's DTF profile. The printer will lay down white ink first, then CMYK on top. Some printers allow you to adjust white ink density; more white means better opacity but slower curing. Aim for a balance that suits your fabric.
3. Powder Application
While the ink is still wet, sprinkle the adhesive powder generously over the print. You can do this manually or with an automatic powder shaker. Then, shake off the excess. You want an even coating that covers all the ink but doesn't leave clumps. A good trick: hold the film at an angle and tap it gently; the powder should stick only to the wet ink.
4. Curing
Curing melts the powder and dries the ink. You can use a heat press, a conveyor oven, or a dedicated curing oven. The goal is to reach a temperature of about 320°F (160°C) for 2-3 minutes. If using a heat press, place the film between two sheets of parchment paper and press with low pressure. The powder should turn from white to a glossy, gel-like state. Overcuring can make the transfer brittle, so watch closely the first few times.
5. Pressing onto the Garment
Set your heat press to 300-320°F (150-160°C) with medium pressure. Pre-press the garment for a few seconds to remove moisture. Place the transfer face-down onto the fabric. Press for 10-15 seconds for hot peel, or let it cool completely for cold peel. Once peeled, you'll see a vibrant, detailed design that's ready to wear.
Common Pitfalls and How to Avoid Them
Even seasoned pros run into issues. Here are the most common ones and their fixes.
- Ink cracking after wash: Usually caused by undercuring or insufficient powder. Increase curing time or powder coverage.
- Transfer not sticking: Could be due to too little pressure, wrong temperature, or the garment having a water-repellent coating. Pre-press longer and increase pressure.
- Dull colors: Often a sign of low white ink density or expired ink. Check your ink levels and ensure you're using fresh supplies.
- Powder clumping: Too much powder or high humidity. Store powder in a dry place and apply sparingly.
DTF vs. Other Printing Methods
How does DTF stack up against DTG, screen printing, and vinyl? DTF shines for full-color, small-batch orders on diverse fabrics. It eliminates the setup costs of screen printing and the fabric restrictions of DTG. Vinyl is great for simple one-color designs but can't handle gradients or photos. DTF bridges the gap, offering photographic detail with a soft hand and excellent durability.
Best Practices for Long-Lasting DTF Transfers
To ensure your DTF prints survive dozens of washes, follow these guidelines:
- Wash inside out in cold water.
- Avoid fabric softeners and bleach.
- Tumble dry low or hang dry.
- Wait 24 hours before washing.
- Iron on the reverse side, never directly on the print.
Frequently Asked Questions
What fabrics can I use with DTF printing?
DTF works on cotton, polyester, blends, nylon, leather, and more. It's especially good for polyesters and blends where DTG struggles.
How long does a DTF transfer last?
With proper application and care, a DTF transfer can last 50+ washes. Factors like powder quality, curing, and washing habits affect longevity.
Can I use DTF on dark shirts?
Absolutely. The white ink base makes colors vibrant on dark fabrics. Just ensure your white layer is thick enough.
Do I need a special printer for DTF?
You can convert an Epson printer with DTF inks and a RIP software, or buy a dedicated DTF printer. Dedicated printers handle white ink circulation better.
Is DTF printing cost-effective for small businesses?
Yes, especially for small batches. No screens or setup fees, and you can print one-offs. The main costs are film, ink, powder, and equipment.
Mastering DTF printing takes practice, but the results speak for themselves. With the right materials and techniques, you can produce stunning, durable transfers that elevate your custom apparel game. Start experimenting, and don't be afraid to tweak settings until you find what works for your setup.