
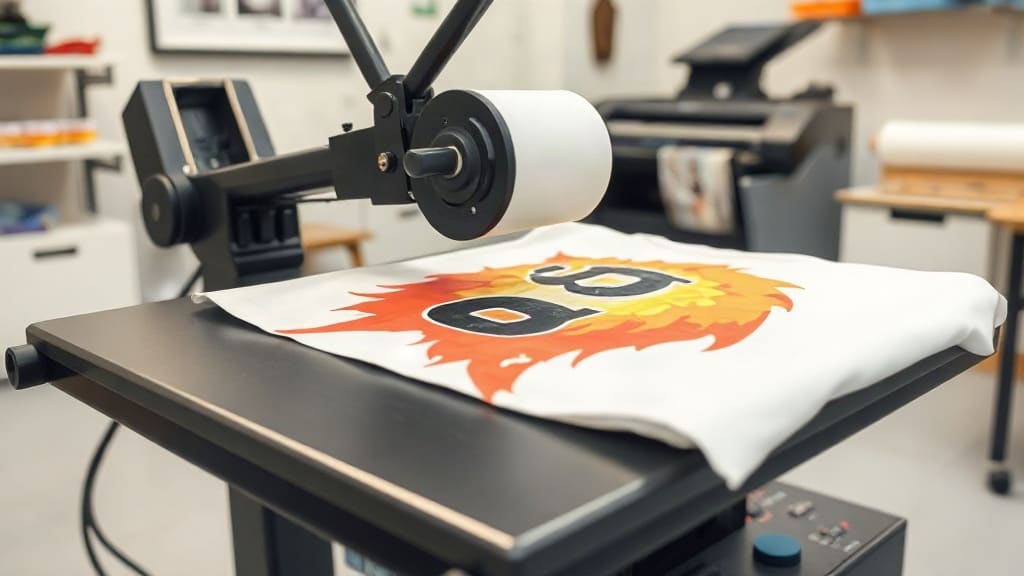
If you've been exploring custom apparel printing, you've likely come across DTF Transfers. This innovative technology is changing the game for small businesses, crafters, and anyone who wants to create vibrant, durable designs on fabric. Unlike traditional methods, DTF transfers offer a versatile, cost-effective solution that works on almost any material. In this guide, I'll walk you through everything you need to know to get started, sharing insights from my own experience with DTF printing.
What Are DTF Transfers?
DTF stands for Direct-to-Film. It's a printing process where your design is printed onto a special film, coated with a hot-melt adhesive powder, and then transferred to fabric using a heat press. The result? A soft, stretchable print that bonds firmly to the material. Unlike DTG (Direct-to-Garment) or screen printing, DTF transfers don't require pre-treatment or specialized fabrics. You can apply them to cotton, polyester, blends, and even tricky materials like nylon and leather.
Why Choose DTF Transfers?
There are several reasons why DTF transfers have become a favorite among print enthusiasts. First, the color vibrancy is exceptional. Because the design is printed on film, you can achieve bright, detailed images without the color limitations of DTG on dark garments. Second, DTF transfers are incredibly durable. When applied correctly, they withstand repeated washing without cracking or fading. Third, the process is straightforward. You don't need a dedicated printer for garments; a DTF printer and a heat press are all you need. Plus, DTF transfers allow for small-batch production, making them perfect for custom orders or sampling.
How to Apply DTF Transfers: Step-by-Step
Applying DTF transfers is a straightforward process, but attention to detail ensures a professional finish. Here's a step-by-step guide based on my experience.
Step 1: Prepare Your Workspace
Set up your heat press in a well-ventilated area. Ensure the press is clean and calibrated. Preheat it to the recommended temperature, usually between 300°F and 350°F (150°C to 175°C). While it heats, lint-roll your garment to remove any debris.
Step 2: Position the Transfer
Place the DTF transfer film onto the garment with the printed side facing up. If your design has text, make sure it's oriented correctly. Use heat-resistant tape to hold the film in place if needed.
Step 3: Press the Transfer
Cover the transfer with a Teflon sheet or parchment paper to protect the press. Apply medium pressure for 10-15 seconds. The exact time may vary depending on your press and film, so always test first.
Step 4: Peel the Film
After pressing, allow the transfer to cool for a few seconds. Then, peel the film off in a smooth, continuous motion. If the design lifts, press again for a few more seconds. For a matte finish, you can press the garment again for a few seconds after peeling.
Common Mistakes to Avoid
Even with a simple process, beginners often run into issues. Here are pitfalls I've encountered and how to avoid them.
- Insufficient pressure: If the transfer doesn't adhere, increase pressure. Uneven pressure can cause partial transfers.
- Wrong temperature: Too hot and the film may scorch; too cool and the adhesive won't activate. Always follow the film manufacturer's guidelines.
- Peeling too soon: Waiting a few seconds allows the adhesive to set. Peeling immediately can distort the design.
- Ignoring fabric type: While DTF works on many fabrics, some require lower temperatures. Test on a swatch first.
DTF Transfers vs. Other Printing Methods
How does DTF stack up against DTG, screen printing, and vinyl? Let's compare.
- DTG: Best for 100% cotton, but requires pre-treatment and can be less vibrant on dark colors. DTF works on more fabrics and offers brighter colors.
- Screen Printing: Cost-effective for large orders but expensive for small batches. DTF is ideal for one-offs and detailed designs.
- Vinyl: Great for simple shapes but limited in color and detail. DTF handles complex, multi-color designs with ease.
Tips for Long-Lasting DTF Prints
To ensure your DTF transfers withstand the test of time, follow these care tips:
- Wash garments inside out in cold water.
- Avoid fabric softeners and bleach.
- Tumble dry on low or hang dry.
- Iron on the reverse side if needed; never iron directly on the print.
Frequently Asked Questions
Can I use DTF transfers on dark fabrics?
Absolutely. DTF transfers include a white ink layer that makes colors pop on dark backgrounds. This is one of their biggest advantages over DTG.
How long do DTF transfers last?
With proper application and care, DTF prints can last as long as the garment itself. They resist cracking, peeling, and fading through many wash cycles.
Do I need a special printer for DTF?
Yes, you need a DTF printer that uses pigment inks and prints onto PET film. However, you can also buy pre-printed transfers from suppliers if you don't want to invest in a printer.
What fabrics work best with DTF?
DTF works on cotton, polyester, blends, nylon, leather, and more. It's one of the most versatile transfer methods available.
Can I stretch DTF prints?
Yes, DTF transfers are stretchable, making them great for athletic wear and fitted garments. The adhesive and ink flex with the fabric.
DTF transfers have opened up a world of possibilities for custom apparel. Whether you're a hobbyist or a business owner, mastering this technique can elevate your creations. With the right tools and a bit of practice, you'll be producing professional-quality prints in no time.