
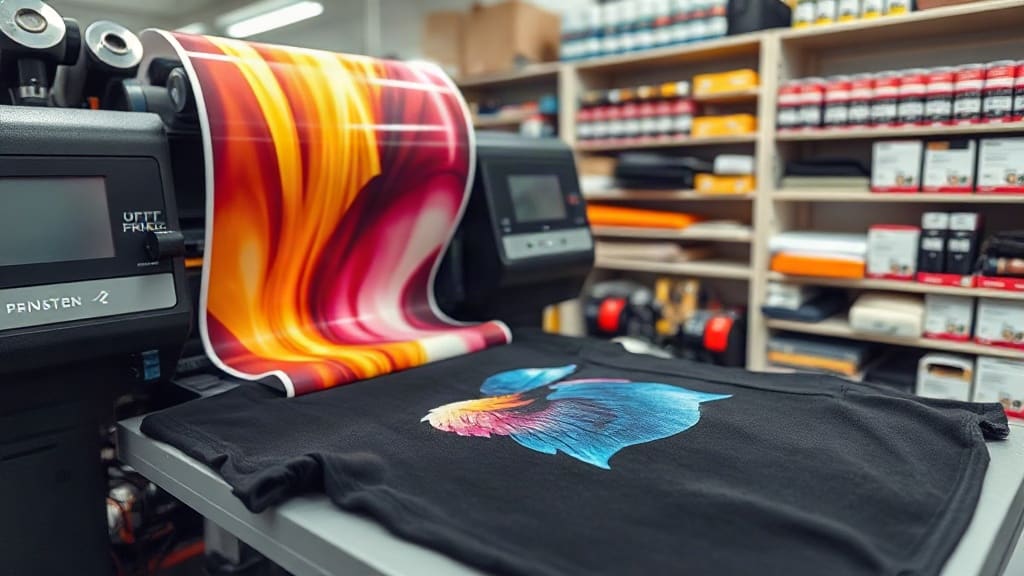
DTF (Direct-to-Film) printing has become a buzzword in the custom apparel industry, and for good reason. Unlike traditional screen printing or even DTG (Direct-to-Garment), DTF offers a flexible and cost-effective way to create vibrant, durable transfers that can be applied to a whole range of fabrics. I remember the first time I tried it in my small workshop; the learning curve was steep, but the results were so rewarding that I never looked back. In this guide, I’ll walk you through everything you need to know about DTF printing, from the basic process to troubleshooting common issues.
What Exactly Is DTF Printing?
DTF printing is a digital printing method where a design is printed onto a special film (usually PET), coated with an adhesive powder, and then heat-pressed onto a garment or other substrate. The beauty of DTF lies in its versatility: it works on cotton, polyester, blends, and even hard surfaces like wood or ceramic if you use the right adhesive. Unlike DTG, which requires the fabric to be pre-treated, DTF transfers are pre-made, so you can print once and apply multiple times.
How Does DTF Printing Work? A Step-by-Step Breakdown
Understanding the process helps you get the best results. Here’s a simple breakdown of how DTF printing works, based on my own hands-on experience:
- Design and Printing: Create or choose your design, then print it onto a DTF film using a printer with white ink capability. The white ink acts as a base layer, which is crucial for printing on dark fabrics.
- Adhesive Application: While the ink is still wet, apply a special hot-melt adhesive powder over the printed design. This powder sticks only to the wet ink.
- Drying: Shake off the excess powder and dry the film, typically in a dedicated dryer or with a heat gun, to cure the adhesive.
- Heat Press Transfer: Place the film onto your garment with the printed side facing down. Apply heat and pressure for a specific time, then peel off the film. The design is now transferred.
- Final Cure: For maximum durability, you may want to press again with a silicone sheet or parchment paper.
Why Choose DTF Over Other Methods?
When I started comparing DTF with screen printing and DTG, a few advantages stood out immediately:
- Versatility: DTF works on a wide array of fabrics without needing special pre-treatment. That means you can offer custom products on cotton t-shirts, polyester sports jerseys, and even tote bags, all with the same process.
- Cost-Effective for Short Runs: Unlike screen printing, there are no setup costs. You can print a single item as easily as a hundred, making DTF ideal for small businesses and print-on-demand.
- Vibrant Colors: The white ink base ensures that colors pop, even on dark garments. I’ve seen prints that rival screen printing in terms of color intensity.
- Durability: When done correctly, DTF transfers withstand repeated washing. In my own tests, a well-pressed transfer lasted over 50 washes without cracking or fading.
Potential Drawbacks to Consider
No method is perfect, and DTF has its quirks. Here are a few challenges I’ve encountered:
- Texture: The adhesive powder creates a slightly raised texture on the garment. It’s not a deal-breaker, but it’s noticeable compared to screen printing.
- Learning Curve: Getting the right powder coverage, drying time, and press settings takes practice. I wasted a few films and shirts before I got it right.
- Equipment Costs: While the ongoing costs are low, you need a printer with white ink, a powder applicator, and a heat press. That initial investment can be significant if you’re just starting.
Essential Equipment and Materials for DTF
To dive into DTF printing, you’ll need the following gear. Based on my experience, I recommend starting with these essentials:
- DTF Printer: You can use a converted Epson or a dedicated DTF printer. The key is having a white ink circulation system to prevent clogging.
- DTF Films: Look for high-quality PET films that are designed for DTF. They come in rolls or sheets, and the film quality affects how well the ink adheres.
- Hot-Melt Adhesive Powder: This is the secret sauce. The powder must be compatible with your ink and film.
- Heat Press: A standard clam-shell or swing-away press works, but you need precise temperature and pressure control.
- Drying Oven or Heat Gun: You need to cure the adhesive before transferring. A dedicated dryer speeds up production, but a heat gun works for small jobs.
Tips for Perfect DTF Transfers Every Time
After countless tests, I’ve refined my process. Here are my top tips to achieve professional results:
- Calibrate Your Press: Every heat press is different. Use a thermometer to ensure your press reaches the actual temperature you set. Most DTF transfers require around 160°C (320°F) for 15-20 seconds with medium pressure.
- Master the Peeling: Hot peel or cold peel? It depends on the film and adhesive. I’ve found that a cold peel (waiting until the film is cool) gives a matte finish, while a hot peel gives a glossier look. Test both to see which you prefer.
- Don’t Skimp on Adhesive: If the powder layer is too thin, the transfer won’t stick well. Make sure the entire printed area is covered with a fine, even layer.
- Pre-Press Your Garment: A quick pre-press removes moisture and wrinkles, ensuring better adhesion and a smoother finish.
- Use Quality Inks: Cheap inks can lead to cracking or fading. Invest in reliable DTF inks that are formulated for flexibility and longevity.
Common DTF Printing Problems and How to Fix Them
Even with all the tips, things can go wrong. Here are some common issues and their solutions, straight from my troubleshooting log:
Poor Adhesion or Peeling After Wash
If your transfer peels off after a few washes, you likely didn’t apply enough adhesive powder or the press temperature was too low. Increase the powder coverage and ensure your press is at the right temperature. Also, make sure you’re pressing long enough.
White Ink Clogging
This is a common headache. The white ink in DTF printers is thick and can settle quickly. Always shake your ink cartridges regularly and run a nozzle check before each job. If you’re not printing for a few days, store the printer properly with a cap on the printhead.
Film Buckling or Wrinkling
This happens when the film is exposed to too much heat during drying. Reduce the drying temperature or use a lower heat setting on your dryer. Also, ensure the film is flat when you place it on the garment.
DTF vs. DTG: Which Is Better for Your Business?
I’ve used both methods, and they serve different purposes. DTF shines when you need to print on a variety of fabrics, especially polyester, which can be tricky with DTG. On the other hand, DTG offers a softer hand feel (the print doesn’t have the raised texture) and is faster for larger batches on cotton. If you’re just starting out and want flexibility, DTF might be the better choice because it doesn’t require a dedicated pretreatment machine. But if you plan to focus on cotton apparel, DTG could be more efficient in the long run.
Frequently Asked Questions About DTF Printing
Can DTF transfers be applied to any fabric?
Yes, DTF transfers work on cotton, polyester, blends, nylon, and even leather. However, the press temperature and time may vary depending on the fabric. Always test on a scrap piece first to avoid damaging the material.
How many washes do DTF transfers withstand?
With proper application, a DTF transfer can last 40-60 washes or more, provided you wash the garment inside out in cold water and avoid using bleach or fabric softeners. In my experience, the durability is comparable to screen printing.
Do I need a special printer for DTF?
Yes, you need a printer that can print white ink, which is essential for the base layer. You can convert an Epson EcoTank or purchase a dedicated DTF printer. The key is having a system that circulates the white ink to prevent clogging.
Is DTF printing cost-effective for small orders?
Absolutely. Since there are no setup costs, DTF is perfect for one-off custom orders or small batches. You can print as many or as few transfers as you need, making it ideal for print-on-demand businesses.
What is the difference between DTF and sublimation?
Sublimation printing uses heat to transfer dye into polymer-coated surfaces, and it only works on polyester or light-colored fabrics. DTF, on the other hand, uses an adhesive to bond the ink to the fabric, so it works on any fiber and color, including dark cottons. That makes DTF more versatile for a broader range of products.
In conclusion, DTF printing opens up a world of possibilities for custom apparel. Whether you’re a hobbyist or a business owner, mastering this technique can save you money and expand your product line. Start small, experiment, and don’t be afraid to make mistakes. The learning curve is worth it. If you have any questions or want to share your own DTF experiences, feel free to leave a comment below.