
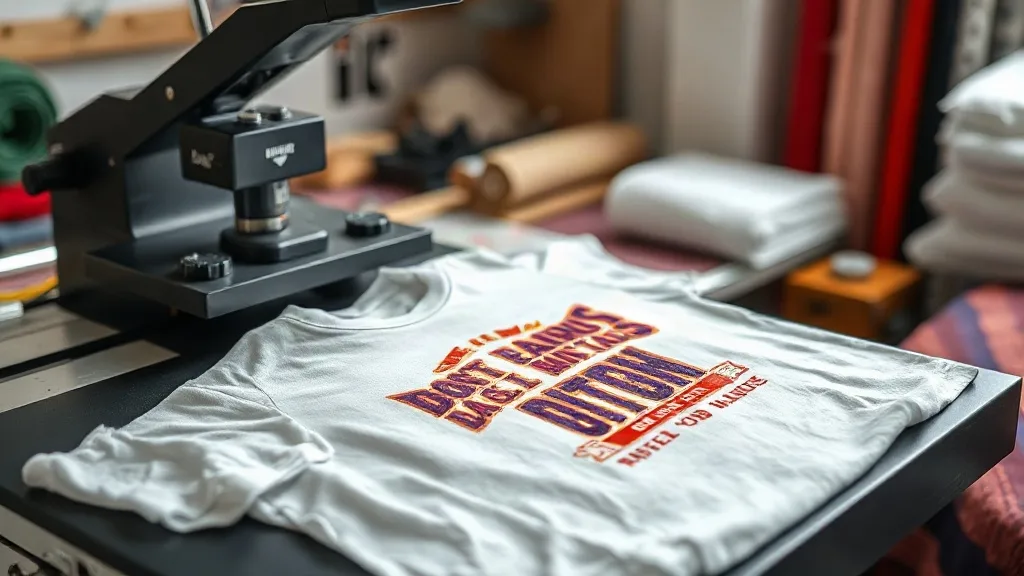
When you first hear about dtf printing, it might sound like just another trendy acronym in the world of garment decoration. But dig a little deeper, and you'll find a method that solves real problems for small business owners, hobbyists, and anyone who's ever been frustrated by the limitations of vinyl or screen printing. Direct-to-film, or dtf transfers, have quietly become a go-to solution for producing vibrant, detailed designs on everything from cotton t-shirts to polyester blends, and even on hard-to-print items like canvas bags and denim jackets.
In this guide, I'll walk you through what DTF transfers actually are, why they've gained such a loyal following, and how you can use them to get professional results without a massive equipment investment. Whether you're running a side hustle or just want to make custom gear for your team, understanding the ins and outs of DTF will save you time, money, and a lot of trial and error.
What Are DTF Transfers?
At its core, DTF printing involves printing a design onto a special film using a digital printer, then coating it with a thermoplastic powder (often called hot melt adhesive) while the ink is still wet. After the powder is applied, the film is cured, and the design is ready to be transferred onto fabric using a heat press. The film acts as a carrier, and the adhesive bonds the ink to the fabric when heat and pressure are applied.
Unlike DTG (direct-to-garment) printing, which requires the garment to be pre-treated and printed directly, DTF transfers are printed separately and can be stored for later use. This decouples printing from pressing, which is a game-changer for workflow. You can print a batch of transfers in advance and press them as orders come in, or even send the transfers to a fulfillment center that handles pressing and shipping.
The process works on a wide range of fabrics, including cotton, polyester, blends, and even some leathers and nylons. That versatility is one reason DTF has exploded in popularity among crafters and small businesses.
Why DTF Transfers Stand Out from Other Methods
If you've tried heat transfer vinyl (HTV), you know the pain of weeding tiny details. If you've tried screen printing, you know the setup costs and the need for multiple screens for multi-color designs. DTF sidesteps both issues.
No Weeding Required
With DTF, you print the entire design, powder it, and press it. There's no cutting or weeding. That means complex, multi-color designs with fine lines and gradients become as easy as a single-color block. This alone saves hours on intricate artwork.
Works on Almost Any Fabric
Cotton, polyester, blends, spandex, canvas, denim, and even some synthetic materials can accept DTF transfers. The adhesive bonds well to natural and synthetic fibers alike, provided you follow the correct pressing parameters. This makes it ideal for shops that offer a variety of apparel options.
Excellent Durability
When applied correctly, DTF prints are highly durable. They resist cracking, peeling, and fading through dozens of washes. The ink sits on top of the fabric, bonded by the adhesive, so it doesn't feel heavy or stiff if you use a quality transfer and proper pressing technique.
Cost-Effective for Short Runs
Screen printing requires a screen for each color, which is expensive for small batches. DTF has no per-color setup cost; you can print one or one hundred transfers at a similar per-unit cost. For small businesses or one-off custom orders, this is a significant advantage.
How to Apply DTF Transfers: Step-by-Step
Getting a great result with DTF transfers comes down to following a few key steps. While the exact settings depend on your heat press and the transfer manufacturer's recommendations, here's a general workflow that works well.
1. Prepare Your Workspace and Garment
Preheat your heat press to the recommended temperature, usually between 300°F and 325°F (150°C to 160°C). While it heats, lint-roll or pre-press the garment for a few seconds to remove moisture and wrinkles. A smooth surface is crucial for even adhesion.
2. Position the Transfer
Place the DTF transfer on the garment with the printed side facing up. The adhesive side is the one with the powder; it should be in contact with the fabric. If you're unsure, the dull side is usually the adhesive side. Use heat-resistant tape if needed to hold it in place.
3. Press with Medium Pressure
Apply medium to firm pressure for 10 to 15 seconds. Too little pressure and the adhesive won't bond; too much and the image may spread. A consistent press is key.
4. Peel While Hot or Cold?
Most DTF transfers are hot peel, meaning you remove the film immediately after pressing while it's still hot. Some newer films are cold peel, so check the instructions. If hot peel, peel in a smooth, continuous motion. If cold peel, wait until it cools completely.
5. Post-Press for Durability
For extra durability, cover the transferred design with a Teflon sheet or parchment paper and press again for 5 to 10 seconds. This second press helps the adhesive fully cure and improves wash resistance.
Common Mistakes and How to Avoid Them
Even with a straightforward process, a few pitfalls can ruin your results. Here are the most common ones and how to fix them.
- Insufficient pressure: If the transfer peels off or looks dull, increase pressure. You want the press to feel firm, not mushy.
- Wrong temperature: Too low and the adhesive won't activate; too high and the film may melt or the ink may scorch. Always test with a scrap piece.
- Not pre-pressing: Moisture in the fabric can cause steam pockets that prevent proper adhesion. Always pre-press for 5-10 seconds.
- Peeling too early or too late: Follow the manufacturer's peel instructions. Hot peel films should be removed immediately; cold peel films need to cool completely.
- Using too much pressure on stretchy fabrics: Over-pressing can distort the fabric and the design. Use medium pressure and consider a pressing pillow for seams.
Choosing the Right DTF Transfer for Your Project
Not all DTF transfers are created equal. The quality of the film, ink, and powder affects the final outcome. When sourcing transfers, consider the following.
Film Quality
Thin, flexible films conform better to the fabric and feel softer. Cheaper films can be thick and plasticky, leading to a stiff hand feel and poor durability.
Ink and Color Vibrancy
High-quality DTF inks produce bright, opaque colors, even on dark garments. If you're printing yourself, use a printer designed for DTF and genuine inks. If you're buying transfers, ask for samples to check color accuracy.
Adhesive Powder
The powder determines how well the transfer bonds and how it holds up in the wash. Fine, evenly applied powder is a sign of quality. Some transfers use a dual-layer powder for extra strength.
Transfer Size and Cutting
Transfers can be purchased pre-cut to size or as sheets you cut yourself. Pre-cut saves time but limits customization. Sheets give you flexibility but require a cutter or scissors.
Washing and Caring for DTF-Printed Garments
To keep your DTF prints looking new, follow these care tips:
- Turn the garment inside out before washing.
- Use cold water and a gentle cycle.
- Avoid bleach and fabric softeners, which can degrade the adhesive.
- Tumble dry on low or hang to dry. High heat can cause cracking.
- If ironing is needed, avoid direct heat on the print. Iron inside out or use a pressing cloth.
With proper care, a quality DTF transfer can last as long as the garment itself.
Is DTF Right for Your Business?
If you're a small business owner, DTF offers a low-barrier entry into custom apparel. You can start with a desktop DTF printer and a heat press, or even outsource printing to a service and focus on pressing and selling. The ability to produce one-off designs and handle complex artwork without setup fees makes it ideal for on-demand and personalized products.
For established screen printers, DTF can complement existing services by handling short runs and samples that aren't cost-effective on a screen press. It's also great for adding names and numbers to jerseys or creating full-color photographic prints.
The key is to test, refine your process, and source quality materials. Once you dial in your settings, DTF can become a reliable profit center.
Frequently Asked Questions About DTF Transfers
How long do DTF transfers last?
With proper application and care, DTF transfers can last 50+ washes without significant fading or cracking. The actual lifespan depends on the quality of the transfer, the fabric, and how you wash the garment.
Can I use DTF transfers on 100% polyester?
Yes, DTF works well on polyester, but you may need to adjust temperature and pressure. Lower temperatures (around 300°F) and lighter pressure help prevent dye migration and fabric scorching. Always test on a scrap first.
Do I need a special printer for DTF?
You need a printer that uses DTF inks and is capable of printing on film. Many people convert Epson printers with DTF ink systems, or you can buy a dedicated DTF printer. Alternatively, you can purchase ready-to-press transfers from a supplier.
What's the difference between DTF and DTG?
DTG prints directly onto the garment, which often requires pre-treatment and works best on 100% cotton. DTF prints onto a film that is then transferred, allowing it to work on more fabrics and without pre-treatment. DTF also tends to be more durable on blends and synthetics.
Can I stretch DTF-printed fabric?
DTF transfers have some stretchability, but they are not as elastic as the fabric itself. On stretchy fabrics like spandex, the print may crack if stretched excessively. Using a quality transfer and proper pressing can improve flexibility, but for high-stretch applications, consider other methods.
DTF transfers have opened up new possibilities for custom apparel, and with a bit of practice, you can achieve professional results that impress your customers. Whether you're just starting out or looking to expand your offerings, DTF is a technique worth mastering.