
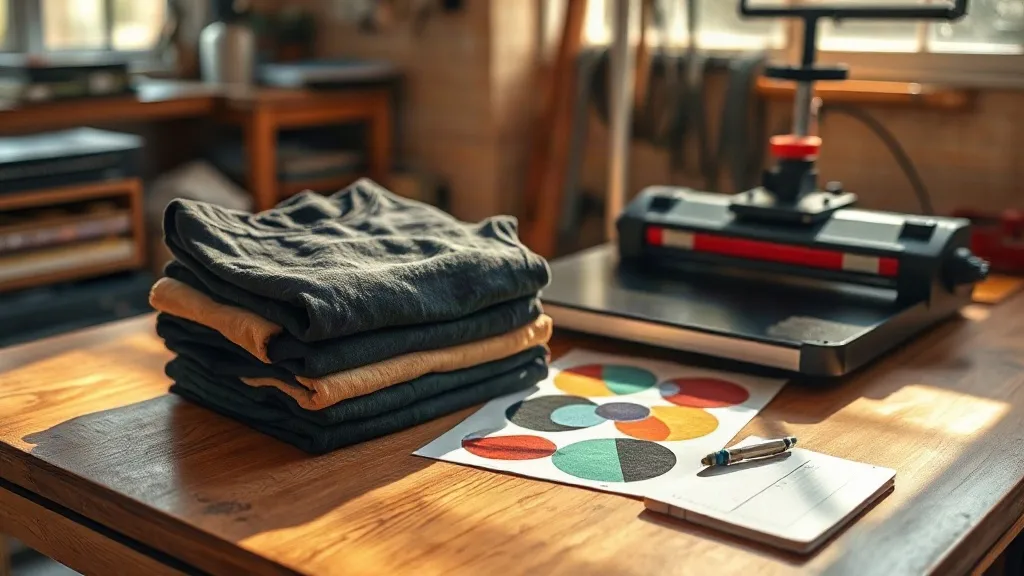
Walk into most print shops that handle streetwear orders and you will eventually hear the same conversation. A customer wants heavyweight tees with a boxy fit, a soft hand feel, and a price that does not wreck the margin. Somewhere in that conversation, shaka wear usually comes up. The brand has built a following among decorators for exactly those reasons: dense cotton, a relaxed silhouette, and blanks that hold up under heat without turning stiff. But a good blank is only half the story. How you apply your transfer decides whether the finished shirt looks premium or looks like a rush job.
This guide is written from the press, not from a catalog. It covers how these garments behave under DTF film, how to plan a gangsheet that does not waste inches, what press settings tend to work, and how to price the job so the numbers make sense at the end of the month.
Why These Blanks Suit DTF Transfers
DTF powder adhesive bonds best to surfaces with a tight, consistent weave and a bit of texture to grab onto. Heavyweight cotton jersey is close to ideal. The fabric absorbs the adhesive while the film releases cleanly, which is why transfers on these tees tend to feel softer than vinyl or thick plastisol layers.
The other factor is color. Many of these blanks come in deep blacks, saturated earth tones, and brights that show every flaw in a transfer. A white underbase that is slightly too thin will look chalky on black. A press that is too hot will leave a visible halo around the artwork. Working with a consistent blank makes it easier to dial in your process once and repeat it, rather than re-testing every order.
Fabric weight and hand feel
Heavier cotton holds more heat, and that matters more than most people expect. A 6.5 oz tee needs a slightly different dwell time than a 4 oz ring-spun style. If you press a heavy garment with settings tuned for a lightweight one, the adhesive may not fully activate at the edges, which is where peeling usually starts after a few washes.
Fit and print placement
Boxy, relaxed cuts change where artwork should sit. On a standard tee, a chest hit might land three inches below the collar. On a dropped-shoulder silhouette, that same placement looks high and cramped. Measure the actual garment, mark your placement with chalk, and keep a sample on the wall so every press operator works from the same reference.
Planning a Gangsheet Around Real Orders
Film is a fixed cost per inch, so wasted space is wasted money. A DTF Gangsheet Builder takes the guesswork out of this by letting you upload artwork, arrange it on a virtual sheet, and see the total length before you commit. For shops running mixed orders, that visibility is the difference between a profitable sheet and one that is half empty.
A few habits make the planning stage faster:
- Group jobs by shirt color first, then by size. White underbase usage changes with garment color, and batching keeps your press settings stable.
- Fill gaps with small add-ons like sleeve logos, neck tags, and pocket prints. These are high-margin items that cost almost nothing in film.
- Keep a running list of repeat artwork so you can nest it into future sheets instead of re-uploading every time.
- Leave a small bleed around each design. Tight nesting saves inches but leaves no room for trimming errors.
One practical tip from experience: build the gangsheet in the order you will press it. If your first job is a run of black tees, put those designs at the top of the sheet so you are not switching press temperatures back and forth all afternoon.
Press Settings That Actually Work
Every shop develops its own numbers, but the principles are consistent. Preheat the garment for a few seconds to drive out moisture. Moisture is the quiet enemy of DTF adhesion, and cotton holds more of it than people realize, especially in humid climates or in a shop where shirts sit in a warehouse for weeks.
Press the transfer at a moderate temperature with firm, even pressure. Medium pressure is usually enough on these blanks; heavy pressure flattens the weave and can push adhesive into the fabric in a way that looks dull. Peel while the film is still warm or cool depending on the film type, and always follow the manufacturer's spec rather than a number you found in a forum.
Common problems and fixes
If the transfer looks patchy after peeling, the most likely culprits are uneven pressure, a worn platen pad, or insufficient dwell time. If the edges lift after the first wash, the powder likely did not fully melt. If the print feels plasticky, you are probably pressing too hot for too long. Keep a log of settings per fabric weight and review it whenever a new blank arrives.
Second press and finish
A short second press under a protective sheet smooths the surface and improves wash durability. It also gives you a chance to inspect the print under good light before the shirt goes into the stack. Ten seconds here saves a customer service conversation later.
Wash Testing Before You Ship
Run your own wash test on every new combination of blank, film, and settings. Wash inside out in cold water, tumble dry low, and check the print after one, five, and ten cycles. Photograph the results and keep them with your press log. When a customer asks how the print holds up, an honest answer backed by your own test is worth more than any marketing claim.
In practice, a properly applied DTF transfer on a heavyweight cotton tee should survive normal washing without cracking or fading significantly. The failures almost always trace back to prep, pressure, or temperature, not the film itself.
Pricing the Job Without Guessing
Cost per shirt breaks down into blank, film length used, powder, labor, and packaging. Film is the variable most shops underestimate because they price by design count instead of by inches. A dense full-back print can use three or four times the film of a small chest logo. Build your pricing around sheet length and you will stop losing money on large artwork.
- Calculate film cost per inch from your supplier invoice.
- Measure the actual length each design occupies on the sheet, including bleed.
- Add a waste allowance of roughly ten percent for trimming and mistakes.
- Layer in labor at your shop's real hourly rate, not a hopeful one.
Shops that track this carefully often find that small add-on prints subsidize the big ones. That is fine, as long as you know it is happening and price accordingly.
Frequently Asked Questions
Do DTF transfers work on dark heavyweight cotton tees?
Yes, and dark garments are where DTF shines. The white underbase layer sits on top of the fabric and lets colors stay vivid. The key is a fully melted powder layer and even pressure, because any weak spot shows up immediately against a black background.
How do I stop transfers from cracking after washing?
Most cracking comes from incomplete adhesive activation or moisture in the garment during pressing. Preheat the shirt, use firm even pressure, and follow the film maker's temperature and dwell recommendations. A short second press under a protective sheet also helps.
Can I mix different shirt colors on one gangsheet?
You can, but it is usually smarter to batch by color. Press settings stay consistent, and you avoid constant temperature adjustments. If you must mix, put similar fabric weights together and note the order on your production sheet.
What is the best way to reduce film waste?
Nest small designs into the gaps around large ones, keep a library of repeat artwork for reuse, and preview the sheet layout before ordering. A gangsheet planning tool that shows total length up front prevents the most expensive mistake, which is ordering more film than the job needs.
How should I store finished shirts before shipping?
Stack them print side up once fully cooled, and avoid folding directly across the artwork for long periods. Keep them dry and out of direct sun. Cool, dry storage protects both the print and the fabric until the order leaves your shop.